

It's time for part two of my top ten things to do to get ready for back to school!!! This topic has been quite the topic of conversation in blogs and social media this summer thanks to the AMAZING Kayla Delzer at Top Dog Teaching. She is inspiring teachers all over to reevaluate their thinking regarding how their classroom is set up and encouraging teachers to include flexible seating options.

When I began setting up my classroom this year I had two goals in mind.
The first? I wanted to minimize my 'teacher' area.
Over the past few years, I have had a HUGE, unattractive, old teacher desk that I inherited from the teacher before me. While it served the purpose of holding my desktop, office supplies, and materials for the week - I didn't like how much space it took up and I ended up using the drawers as a space to throw my junk. Well, since one of my goals was cleaning up my classroom and throwing things away, I wanted to take away the temptation of having drawers to throw things in. I opted for a small rolling computer cart that was in our building's storage room. It provides enough space for my desktop, document camera, VHS/DVD player and a few office supplies. I placed that along with a cubby shelf that stores my guided reading activities against the back wall and moved my guided reading table in front of it. Instantly, I saved so much space. I have never enjoyed having a large teacher area. My classroom is not just mine. I share it with up to 30 students every year. It's my goal to provide them with enough space to learn and grow.

After I set up my 'teacher' area, I went to work setting up the two other largest areas of my classroom. The whole group carpet area and my student tables. Since these three areas are the largest sections of your classroom, it's usually helpful to begin with those.


I currently have six small student tables around my classroom and all of them are located in the middle of the classroom. I FAILED at getting a picture of my carpet area (tomorrow!) but it is placed near my teacher area next to my focus wall.
Next I began working on my placing my centers. My largest center by far is my library (LOVE LOVE LOVE my books!) so I usually start there. One thing to think of when placing centers are the varying noise levels of each center. For example, I have a block center in my room. It is located on my large whole group carpet. The carpet softens the sounds of the blocks when students are building. Since I want to keep my loud centers and quiet centers as separated as possible, my library is located on the other end of my classroom, next to writing. In my library, I've provided a soft rug and comfortable seating.

Along with a very large variety of books sorted and organized by theme...

and reading level!

This year, I've also chosen to incorporate my listening center into the library. I provided stools set up next to my rolling cart with supplies so students are able to sit on the floor or up higher to listen.

When I place my centers around my classroom, I like my centers to have clearly defined areas where students can work without distractions. I use shelving to create small 'cubby' like areas for students to be while working.

Whether you like open spaces or defined areas, make sure your centers are clearly labeled and students understand where each center is located. I use my Center Signs to clearly mark each center in my classroom for students to independently find their work station.

After getting my centers in place, I began work on my second goal - providing students with more choice in the classroom. While some view flexible seating as simply providing a variety of different seats for students, flexible seating is so much more. It's more of a change of thinking. Students are provided with more control and choice over their learning environment and are trusted to make choices that are best for their learning. Consider this...when you work on your computer at home, do you sit at a table or desk? Or are you more comfortable on the couch or comfy chair? Or maybe even spread out on the floor? My guess is that your answer varies from your neighbor's and might even vary depending on your mood or what the project entails.
Students are the same. I often have students who prefer to stand at their desk and work. Students who complete every center laying on their stomach on the floor and those who sit criss-cross no matter what. While each of your students learn and grow differently, ALL students can thrive in an environment where they are given more choice.
You may want to start small and THAT'S TOTALLY FINE. Teachers should not feel like they should change their whole classroom or way of thinking over the summer. Maybe the idea of flexible seating makes you nervous or you are unsure how exactly to incorporate it. My advice is to begin small. If you want to keep your traditional tables/chairs/seating chart, etc. then start at a place you feel more comfortable. Are there independent work times in your day where it is easier for students to move about your classroom and work where they choose? Start there. Small changes can mean huge success. Here are some ways I'm providing students with more choice in my classroom along with how much it cost.
Scoop Rockers from Wal-Mart - $5 a piece. These are GREAT for students to use while working on the floor and for those students who need to move more while listening on the big carpet.

Yoga Mat from Five Below - $5. The best thing about these yoga mats? I cut them in half! One yoga mat isn't necessary for little bodies so I doubled my seating simply by cutting them in half! These are great for students who like to lie on their stomachs or sit on the floor and spread out to work. The mat also naturally creates a work space for students to keep their materials in one location.

Outdoor Cushions from Target - $7.50 a piece on clearance. Besides having these available for my students to use on their own, we will be using these as seats for my guided reading table. My table is lowered for students to be able to sit on the floor or on their knees.

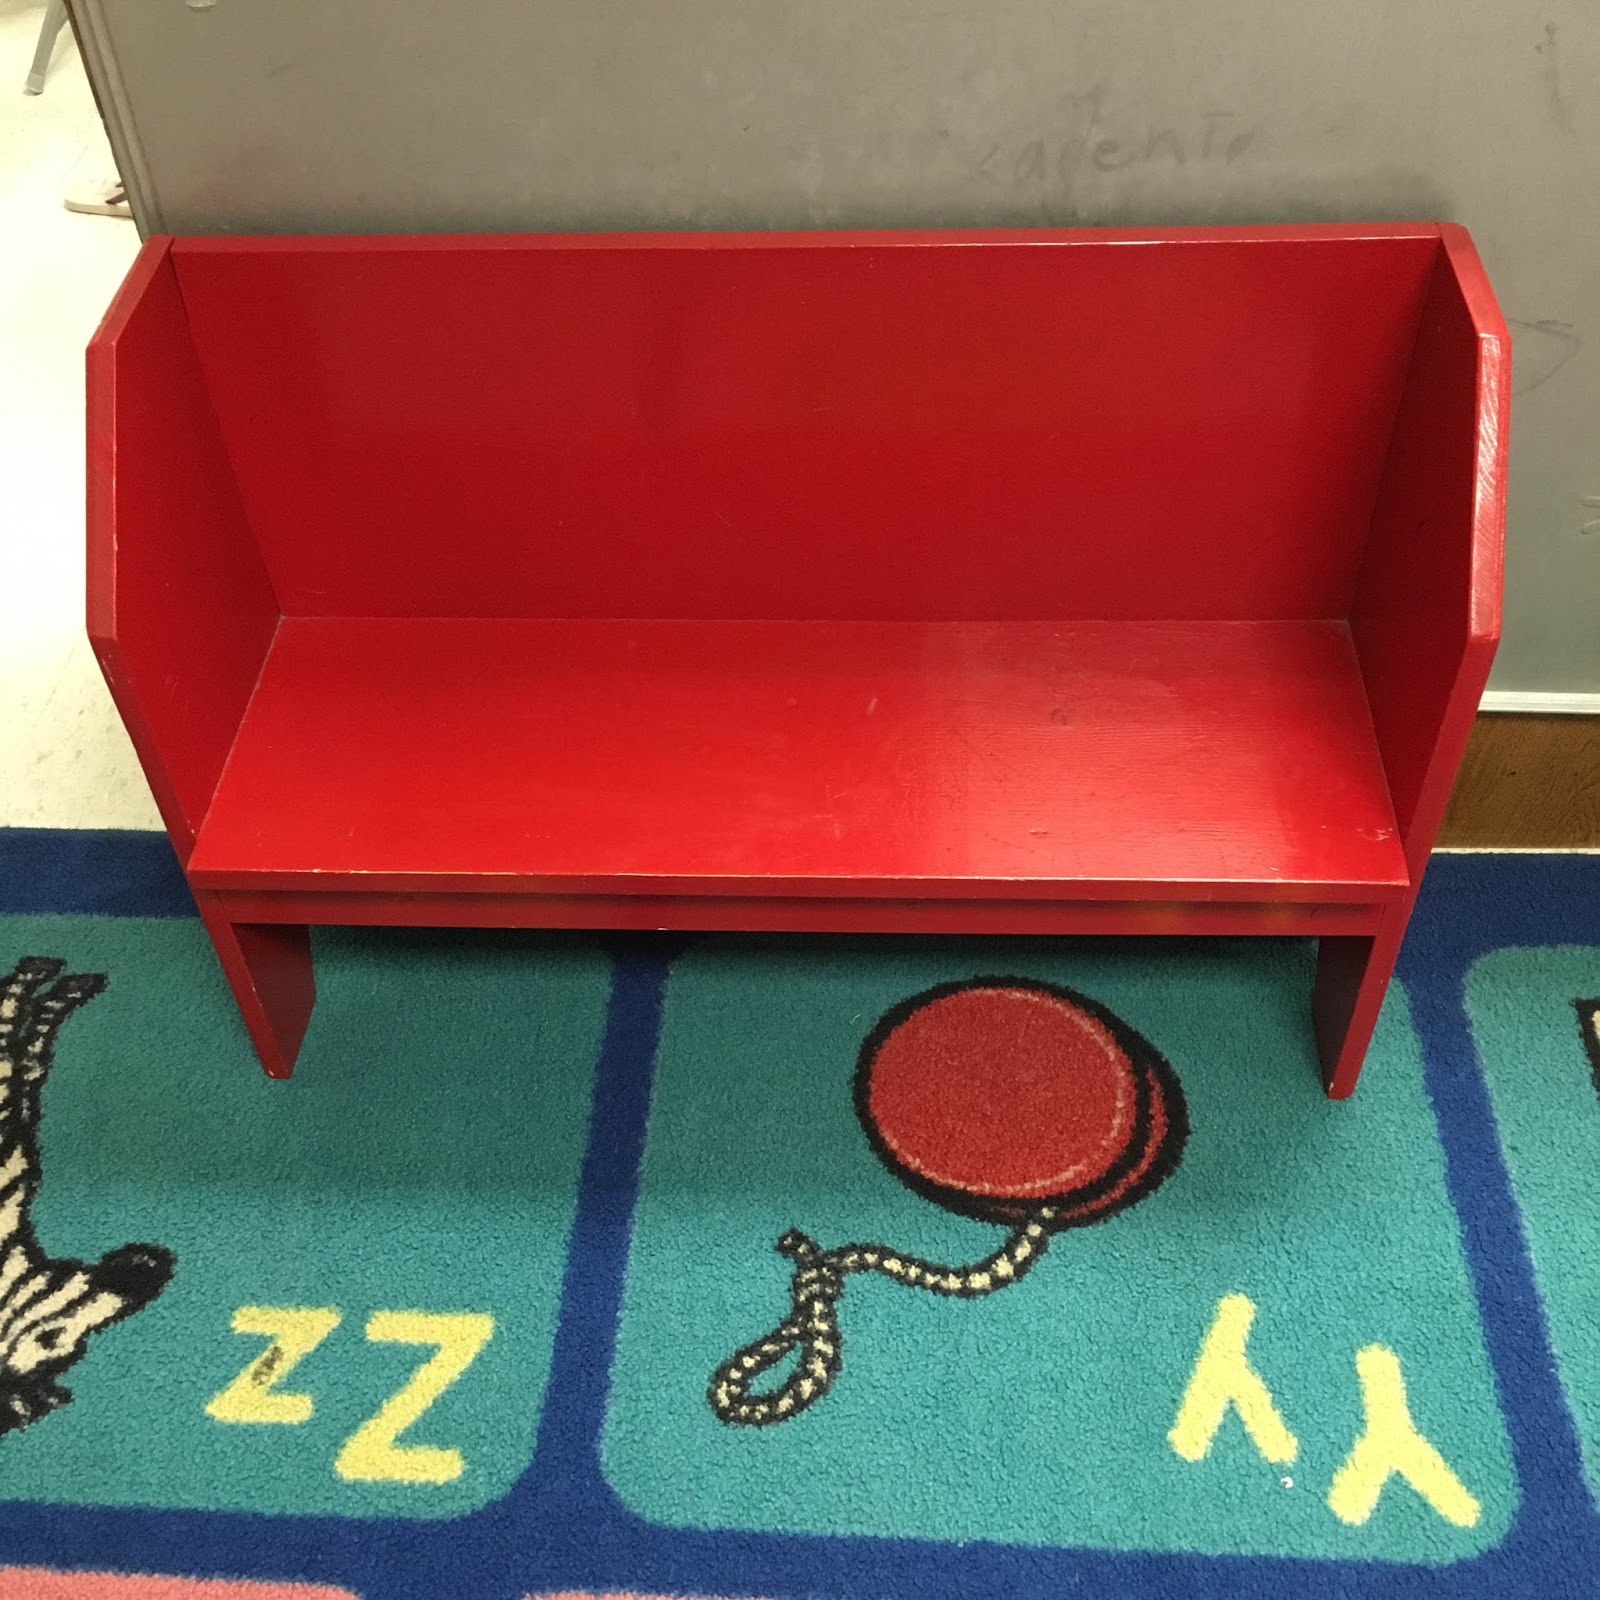
Red Bench - FREE! A family member made this bench for me years ago and I still love it. It is currently on my large carpet as another option for students to sit on during whole group time.
Stools from Family Dollar - $5 a piece. These stools are here as an option for students who are wanting to exchange their regular backed chair. Stools require a little more stability and allow more freedom to move - this will be an option for students to choose.

Clipboards - free from willing teachers! Clipboards are an easy way to students the ability to move to different locations around the room. They are able to keep working anywhere in the room!

In addition, I will be raising one of my tables to create a 'standing table' for students who enjoy standing to work and I will be purchasing lap desks for students to use as well.
Setting up a classroom can be OVERWHELMING. Take it one step at a time.
1. Decide if you want an open concept or more defined areas in your classroom.
2. Set up the largest areas first (i.e. teacher desk, tables whole group area, etc.)
3. Decide what centers you are going to have, then carefully place them around your classroom - giving each one a defined area that students can successfully work in.
4. Consider implementing flexible seating for students to have choice while working on independent work throughout the day.
If all else fails and you need another set of eyes, grab that super organized friend (or two) that I mentioned yesterday - and bribe them with chocolate. :)


No comments
Post a Comment